
LVT and Commercial Design Spaces
Luxury Vinyl Tile (LVT) flooring came on the scene and immediately became the most popular new kid on the block, offering a flooring option with endless design, high performance and cross-segment staying power.
LVT at one time only accounted for about 10% of the total flooring stock with distributors, but in 2019 it was more than four and five times that in some cases.
This higher inventory is a result of the product’s popularity. And with more installations comes more mistakes. Take it from a guy who’s been installing and inspecting flooring for the past 32 years, I’ve seen a lot when it comes to flooring installation shortfalls.
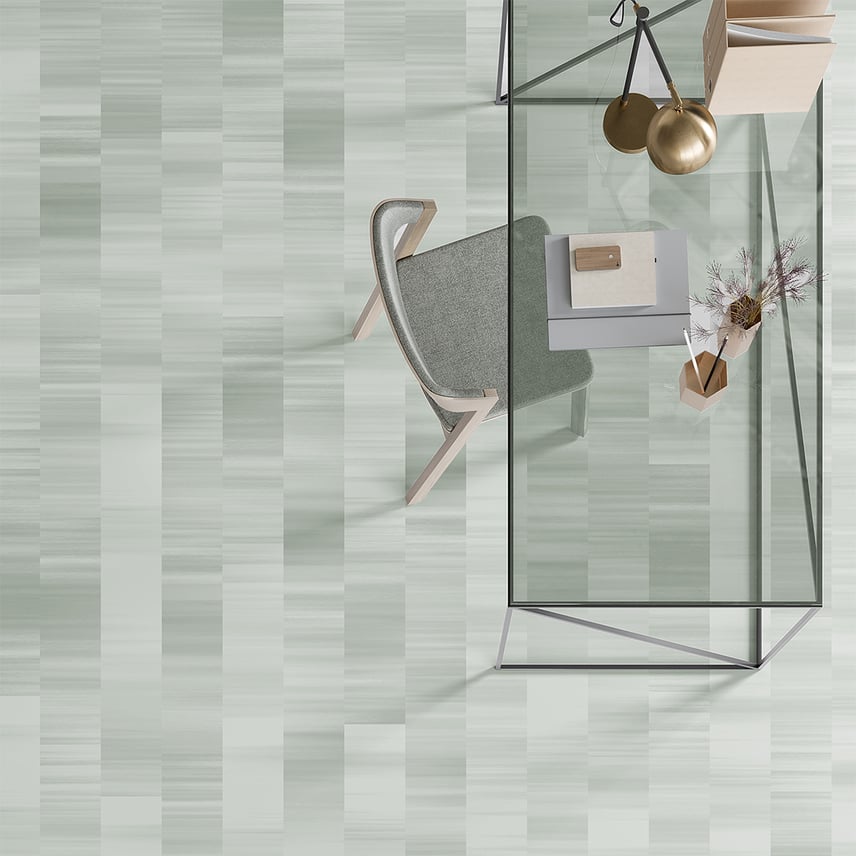
Northern Wonder: Illusion - Mist
The LVT category has continued to grow exponentially and, like any commercial flooring product, there are some key factors when installing LVT that can ensure it lives up to its reputation in the field. Whether you are a designer who specifies LVT on a project, or a flooring installer, we’ve got some advice to make sure your next project is a success.
If you don't have time to read the whole article download this guide to commercial flooring installation to read later.

Mistake #1: Cutting Corners & Losing Keys
Cutting corners on subfloor preparation and losing one of the five key factors in a successful flooring installation will create issues for years to come. It is easy to look at subfloor preparation as the best place to cut a corner or save some money because you’re going to cover it up, right?
Not exactly.
If your subfloor is not flat, clean and smooth with a CSP of 1, you may not initially be able to see the waves in the concrete or protrusions from debris, but over time foot traffic and rolling loads will wear these high spots more quickly and become visually noticeable.
LVT is, by design, uniform and meant to exist in flat rows or in a square grid. When your subfloor is wavy, keeping a square grid during placement will produce unneeded challenges and a struggle to keep the layout square.
Excessive gapping between the modular units or windows at tile-line intersections may occur. This is especially noticeable with light colored flooring designs and square tile sizes.
This was a common issue with vinyl composition tile (VCT) material as well, but installers would camouflage such discrepancies in VCT by using material shavings called “gopher dust” to fill in the gaps and when the sealer was applied the visual mishap was generally hidden when observed from a standing position.
With LVT, the key is to begin with a flat subfloor to compliment the square material grid and result in a visually pleasing installation. Your installer should be able to walk through your space and prescribe the proper floor preparation to ensure you are able to achieve the right subfloor conditions for your installation.
Another cost cutting mistake in LVT installation is not using the right adhesive and application method. For instance, hospital beds expose LVT to heavy static and rolling loads, and with the wrong pressure sensitive adhesive, can leave indentations in the floor.
Not using the right application method or tools when applying the adhesive can present similar indentation issues even with lighter furniture. Indentations can occur from adhesive displacement and/or if the wrong metering tool is used.
Additionally, the adhesive can bleed through and surface between tile-lines making the flooring system difficult to clean. It is important that your installer follow the manufacturer’s guidelines on adhesive options and application based on the end-use needs of the space.

Mistake #2: Not Understanding Your Options
LVT comes in a variety of profiles and thicknesses with different options on installation, let’s review these at a high level. You can always reference the manufacturer’s installation guidelines for details and special considerations pertaining to your specified LVT product.
LVT with a thickness of 2.5mm is installed with a full-spread adhesive application. Different adhesive options should be used when dealing with high moisture conditions, but overall, the application is spread, sprayed, or rolled over the entire area to be installed.
LVT with a thickness of 4mm can be installed full spread or with a perimeter glue installation method where a nine to twelve inch band of adhesive is applied around the perimeter of the room, and as a grid every 20 feet when installing in large open areas.
Floating LVT, such as Mannington’s Crown Collection, is designed to be installed as a completely non-adhered system. This type of LVT uses a tongue and groove locking system to connect planks and can create a waterproof, quiet underfoot and sound abating option.
This type of LVT performs beautifully when two key factors are followed. First, the floor must be flat, otherwise you can have a springboard effect and feel bounce underfoot. This bounce will weaken the locking mechanism over time and may eventually lead to damage as planks loosen from one another.
Second, you will need to ensure a ¼” of space is allowed at all vertical stops, transitions, etc., depending on the size of the room. These include walls, door jams, cabinetry or any other area where the floor will be “terminated.”
When installing this type of LVT, it is important to note that an open room is not to exceed 100 linear feet in either direction, the larger the room, the larger the expansion space that is needed. When installing an area up to 100’ allow ⅜” for expansion.
Some other things to consider when choosing your LVT profile or installation method are the inclusion of radiant heat, direct sunlight and protection of a new installation, i.e., proper furniture glides. These special considerations can determine the use of specific adhesives and additional curing time.
Talk with your installer to ensure they are aware of these and/or other conditions that could impact the long term success of the flooring system.
You Might Like: The Specifiers Ultimate Guide to Luxury Vinyl Tile (LVT)
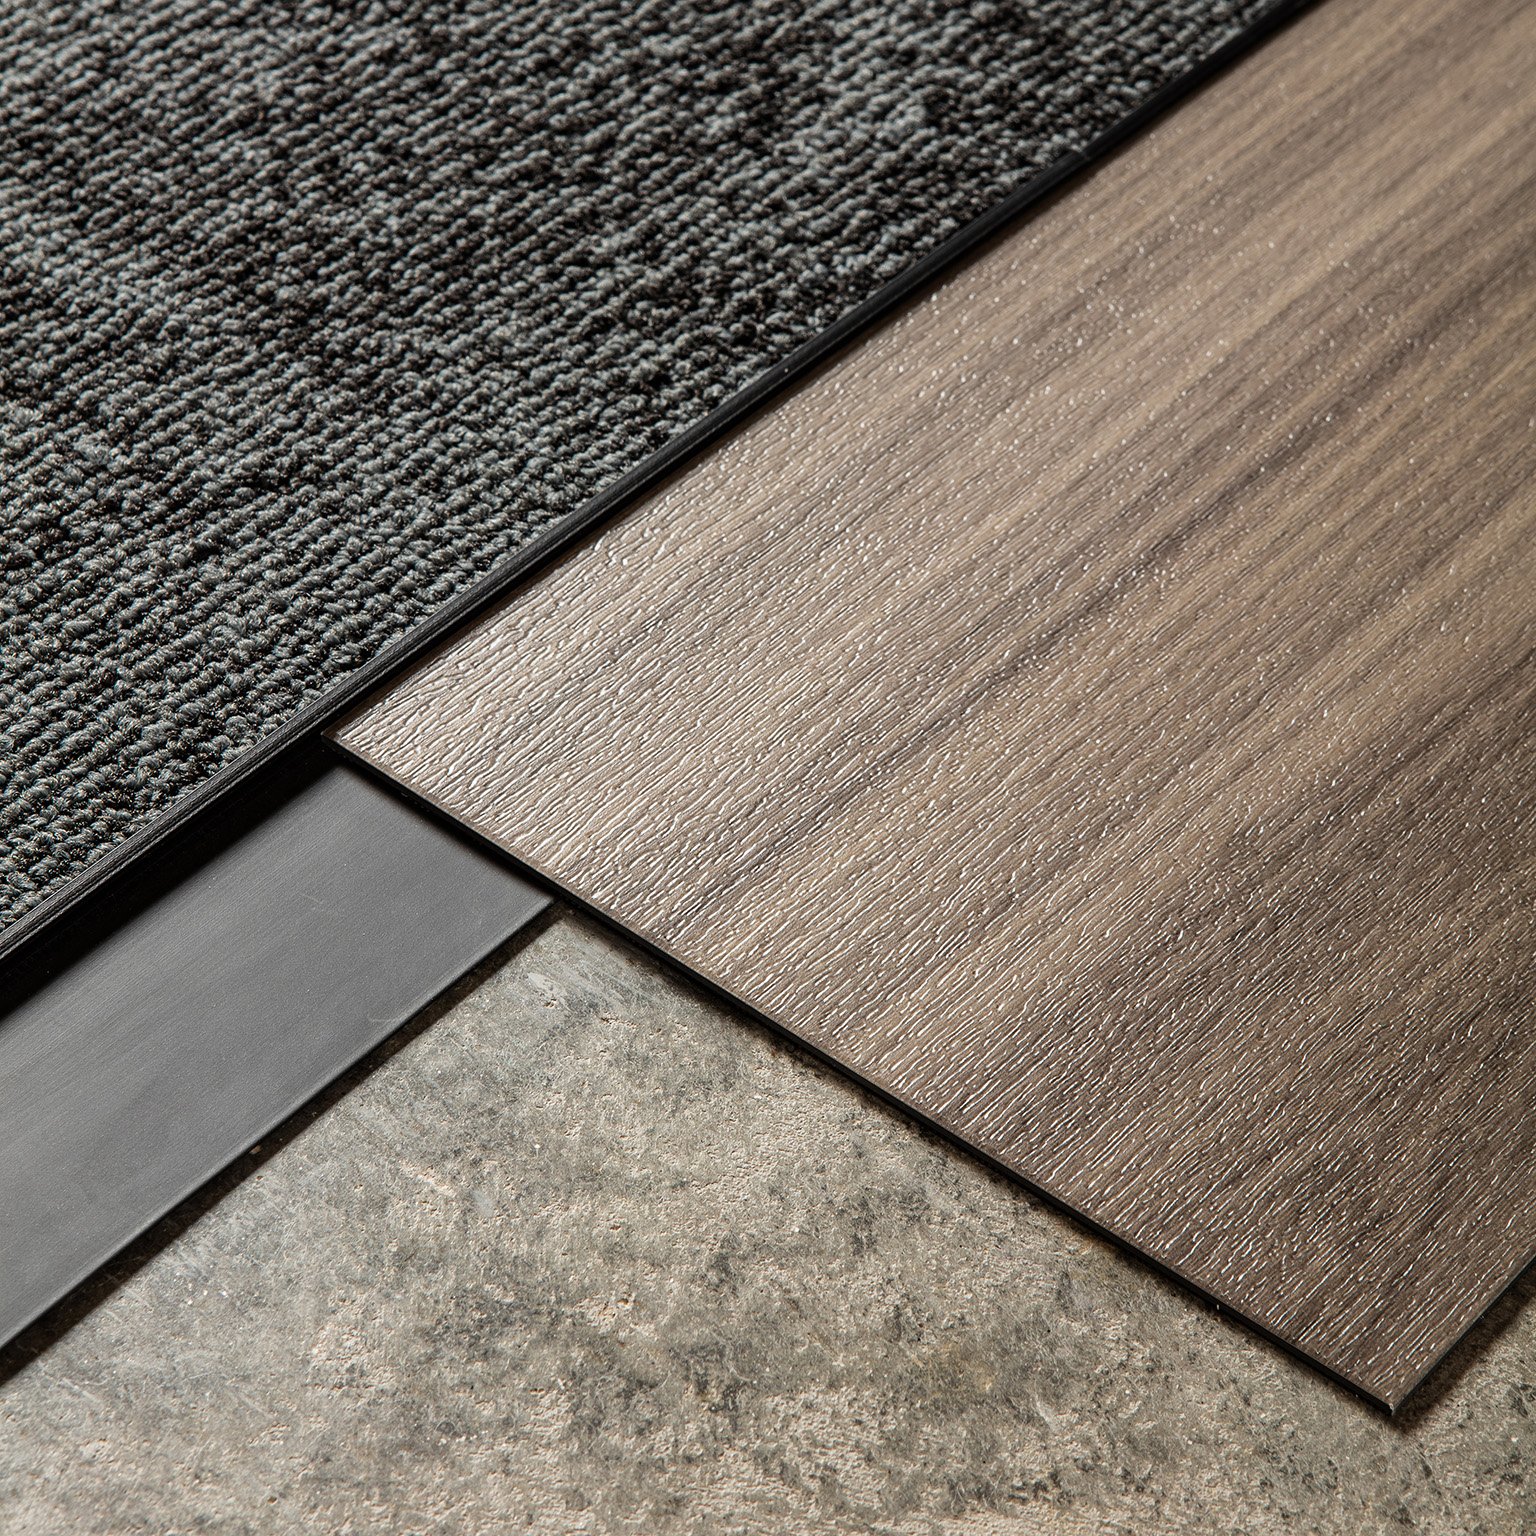
Mistake #3: Ignoring The Edge Profile
To bevel or not to bevel, that is the question. Not all, but most LVT comes with a micro-beveled edge. This bevel allows dirt and debris between tiles to be more easily cleaned, but it isn’t always best when specifying a custom design where tiles will need to be cut on-site by an installer.
A beveled tile needs to meet a beveled tile and becomes obvious when placed next to a straight edge (unbeveled) tile.
Beveling must be done at the manufacturing level and cannot easily be achieved by an installer on site. So, if the design calls for a 18”x17” tile instead of the standard 18”x18” tile ordered, the square-cut side where the inch was removed can be noticeable when laid adjacent to the uncut side of a beveled-edge tile.
Mannington offers many personalized flooring design options with Signature Layouts, Choice Layouts, custom cutting capabilities, borders and motifs to help avoid this mistake and take some of the work out of designing a custom look floor on-site, but, if not using one of these options, when designing a custom floor it is certainly favorable to specify an unbeveled edge.
LVT Has Staying Power With The Right Installation
The right LVT, adhesive and installation method is just the beginning for a long wear, high-performing floor. One reason for LVTs popularity is the ease of maintenance and lower lifetime cost of ownership versus other flooring types that may require stripping and waxing.
One of the most important things you can do to maintain your new LVT floors is ensure all furniture pieces are properly placed using coasters and glides to prevent scrapes and ensure loads are evenly distributed.
When specifying LVT for a space, be sure to provide adequate walk-off at all entrances. Walk-off helps to trap dirt, abrasive debris, snow melt and other outside materials to keep your floor clean and prohibit wear.
For information on how to extend your LVT floorings staying power and keep it looking new for years to come check out our article How to Clean and Maintain Commercial Hard-Surface Flooring.
We hope that by explaining the common mistakes in commercial LVT installations, you are knowledgeable on how to bypass these situations in your subfloor preparation, design choices and installation process.
Reach out to us for any questions or additional best practices. Our technical services team is here to help. You can reach us at technicalservice.commercial@mannington.com